Friday, December 26, 2008

Merry Christmas!

I've been sewing up a storm lately...
Remember those lightning mcqueen pants I made? I'm making a 2nd pair of those for my son b/c they were a huge hit.
Then I've been making soakers for my etsy shop and wipes also for the shop.
Check it all out
(click on any of the images to be taken to the etsy page where you can purchase the items)


Sunday, December 21, 2008

A owly fleece soaker

I was trying out Katrina's Pattern today for the Fleece Soaker, and i love it. It's a nice, fast sew. I'll be making a few for my 3day etsy shop here soon.
Check out this first one, which is FFS on DS.
DSC_0005
DSC_0006

A long week of diapers

I'm working on a set of 8 diapers for a friends son, and here is the before
DSC_0283

Here is a semi-after (Hadn't added snaps yet)
DSC_0284

Saturday, December 13, 2008

PJ Pants and the start to a long weekend

I've been slacking on a lot of projects lately, and need to get crackin again. I've had a lot of work to do the last few weeks and have been up til 1am-ish nightly working, so there has been very little time for sleep, let alone sewing.
But now that work is done, and I plan on using today as a sewing day :D

First on the chopping block is a pair of Lightning McQueen pajama pants for my rockstar of a son.

I made these w/o a pattern. I took the pants that came with his Christmas PJs (Nick & nora) and flipped them inside out, then put one leg inside of the other. I cut out fabric in the same shape, serged together and added elastic. Took about 15 minutes from start to finish.

Here's my man showing off his muscles, dancing for the camera, and more.

pants1

pants2

pants3

pants4

Saturday, November 29, 2008

Two diapers

I've recently made 2 diapers with laminated silk as the outer, one has velour inner, one has alova suede inner.
The laminated silk is supposed to make it an AIO, but I'm not confident in their abilities. LOL.
So for the meantime, they will just be "less leaky fitteds"

Purple Silk AIO diaper

teal silk diaper

Thursday, November 27, 2008

The finished Miss Madeline

I finished this 2 days ago, and it was SO stinkin cute on, I had to share.
I've used this pattern 2 more times since, and I'll be sure to post those later.


Tuesday, November 25, 2008

The start of the Miss Madeline Dress

I decided to try the Miss Madeline dress pattern since I didn't love how the last one (sans pattern) turned out.
So far I like it. I'm a bit further along than this now. I think the whole project could have easily been done in under 30 minutes had I not dealt with 3 phone calls, an HVAC appointment, 2 individual nap times, 1 storytime, getting snacks for kids, an crash and burn injury to my 3 year old, and a diaper blow out (plus putting in a new load of laundry and moving my car for the HVAC guy). In any event, this is the only photo I have thus far.

The peasant Dress

Last night I had to go get some sherpa for a few diapers I wanted to finish for Lily.
While there, I can across these two impossibly cute fabrics that I knew would make a super cute dress for Lily.

I used a tutorial online for a peasant shirt/dress and went to town.

I love the fabrics together, however I don't love how the dress came out. I mean, it's cute, but the skirt is a little too straight (needs to be more a-lined) but that's my fault b/c the link is just a tut, not a pattern so I should have made the shirt wider. Oh well. Live and learn, right? ;) In any event, its cute on... just now crawling friendly ;)


Monday, November 3, 2008

I'm now the proud owner of...

a snap press!!!


I don't love the placement of the snaps on this one, but it was a practice one. Also, ignore the ugly diaper. It was the 2nd one I ever made. Haha


Thursday, October 30, 2008

Art Container

DSC_0096


Having a 3 year old son, my house is littered with drawings, and tracings of hands and feet, etc. Being a Mom, I have a very hard time throwing any of them away. She's so proud of every last one of them!
But I needed to find a better way to contain them.
He has a small vintage playtable (the same one I had as a kid, my Dad found an identical one on eBay for him, lol) that he uses for coloring, etc. He also has a Melissa & Doug bend starter kit (shakers, harmonica, kazoo, etc) that came in a wooden box/tray. The box/tray took up residence on the playtable, holding all of his artwork. Problem being, the box is big and the table is small, which left for very little space to actually CREATE the artwork.
Brendan's room is all sports themed, so that will explain the fabric choices :)

First I started with the wooden tray from the Melissa & Doug playset. It is such nice quality that I couldn't stand to throw it away when it could easily be repurposed.
DSC_0089

Then I took two pieces of carboard, and taped them together to make the size I wanted for the front of the box
DSC_0090

I cut the letters A R T out of orange felt, cut off a small white flannel shape to put the letters on, and cut off a chunk of the sports fabric big enough to cover the cardboard panel
DSC_0091

I zigzag stitched the letters onto the white flannel
DSC_0093

Then I zigzag stitched the white flannel piece onto the sports fabric
DSC_0094

Then I (no photos) took another piece of white flannel, and covered the front of the cardboard piece. I superglued it to the carboard on the back, then put tape around the edges to secure it.

I then did the same with the sports fabric, being sure to center the ART design.

Once that was all done, I glued the panel to the front of the box, and used 2 finishing nails to hang it

DSC_0096

Thursday, October 23, 2008

Using your Diaper Pattern (tutorial)

So now that we have a pattern, lets take that puppy out for a drive.

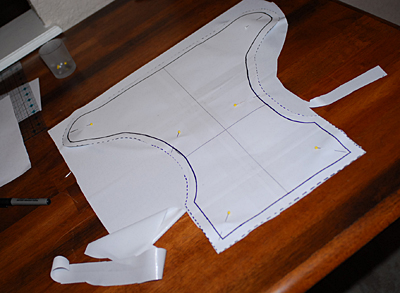
Lets take our pattern and cut out our fabric.
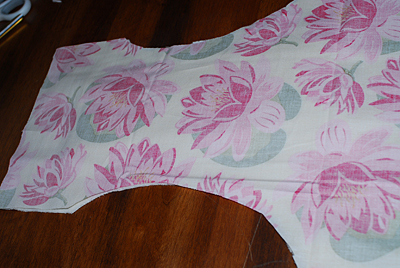
I'm making my very first AIO, so I'll be using a pretty Michael Miller knit for the outside, a layer of white (the cheapest) PUL, a 2 piece zorb soaker, and sherpa for the inside.

So here is our outside
DSC_0069

this will be the hidden PUL layer
DSC_0070

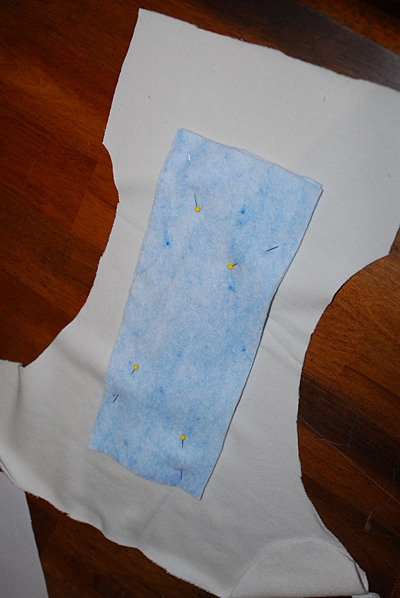
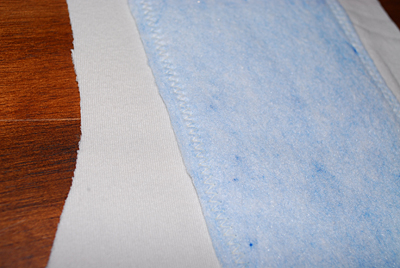
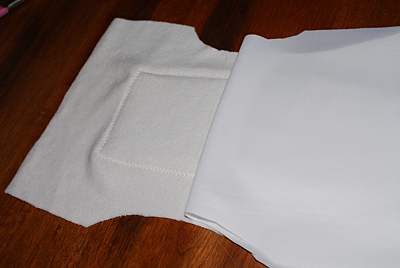
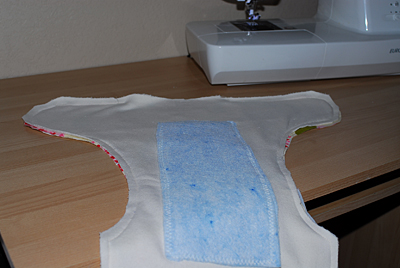
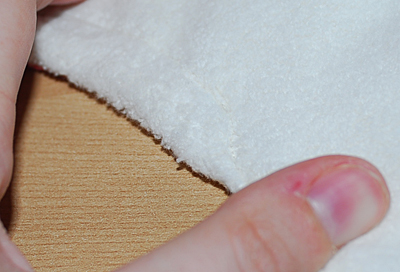
and the sherpa and soaker
DSC_0072

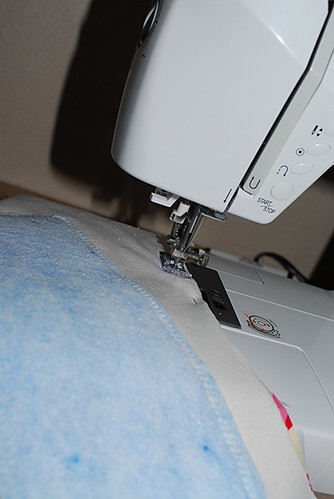
we'll pin the soaker to the sherpa
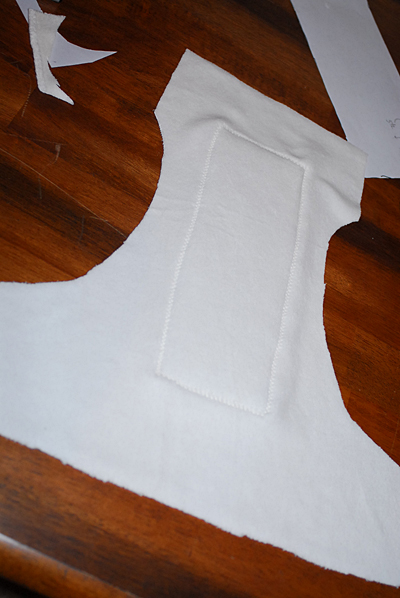
DSC_0073

and stitch it down
DSC_0074

DSC_0080

now we will take our sherpa layer (the the soaker attacked now) and lay it, soaker side down
DSC_0081

then we will add our pretty knit right-side-down
DSC_0083

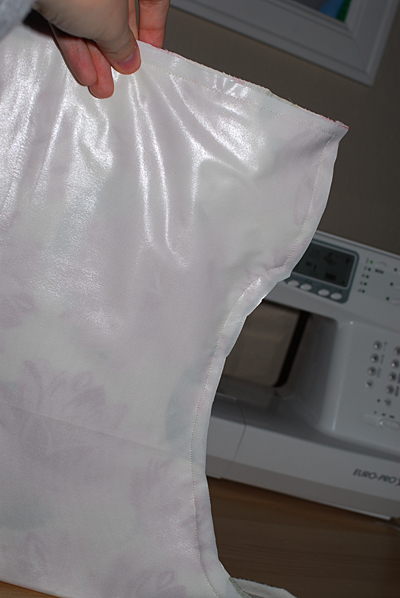
then add your PUL, shiny side UP
DSC_0082

pin this together, but remember to use as few pins as possible b/c the more pins you put through the pul, the more holes you have to leak from
DSC_0085
DSC_0087

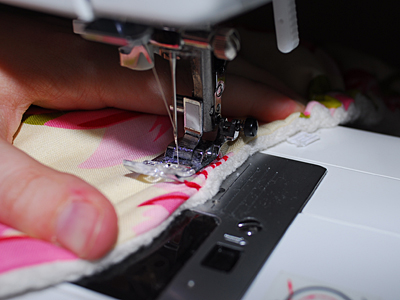
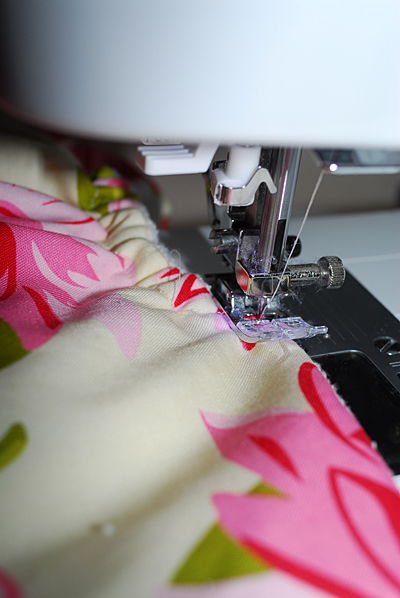
sew it all together (mental note, sherpa is slippery) leaving a gap at the back of the diaper. I normally make it about 6" long, however you want it to be open for the entire distance that you anticipate running elastic.
DSC_0088

there's one side, all done

DSC_0089

and the other
DSC_0090

At this point, I normally snip a few lines in the curves of the leg holes, but don't go crazy doing it or it'll make adding elastic a real bitch.

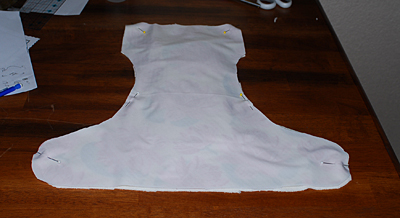
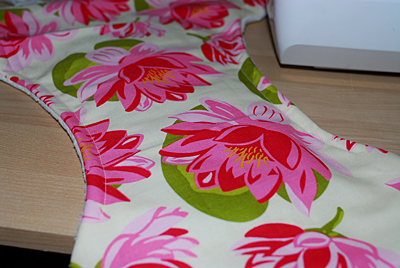
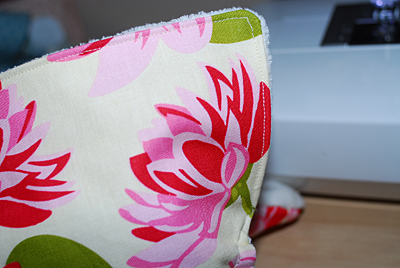
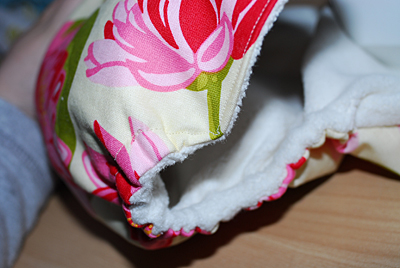
flip it right side out
DSC_0091

DSC_0093

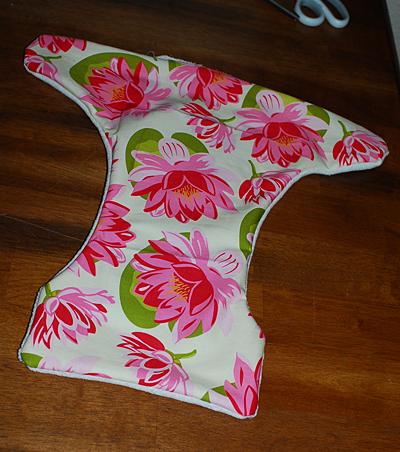
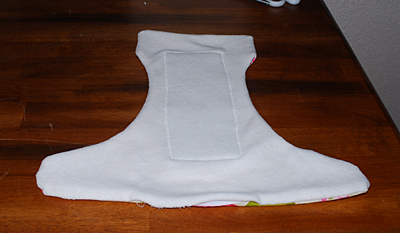
and this is what you have so far

DSC_0094


(ADDED LATER)

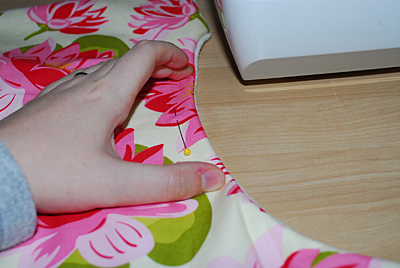
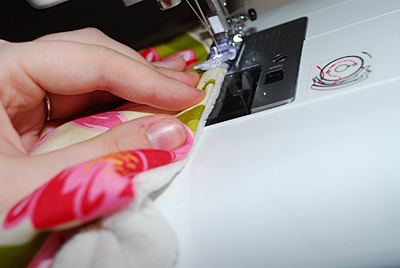
Now it's time to start adding our elastic
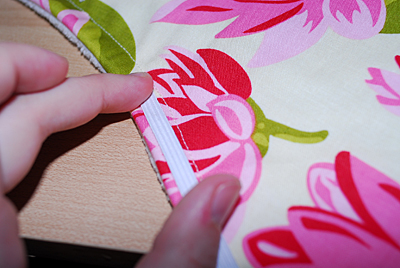
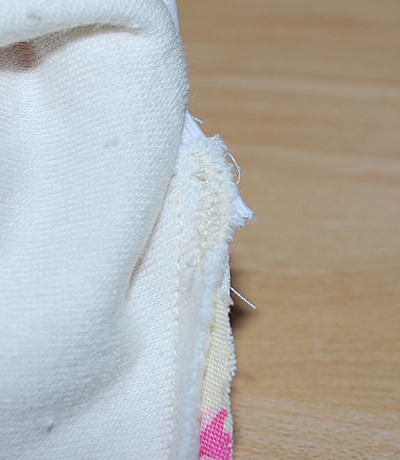
See that little pin? That's about as far away from the edge as you want to stitch. You'll just stitch a line following the shape of the diaper. This will create a casing.
DSC_0096

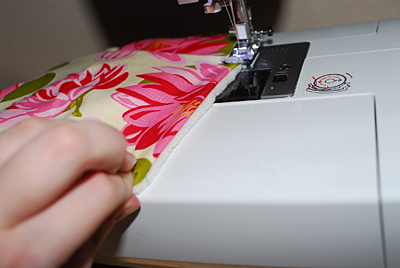
Once it's stitched, it'll look like this
DSC_0097

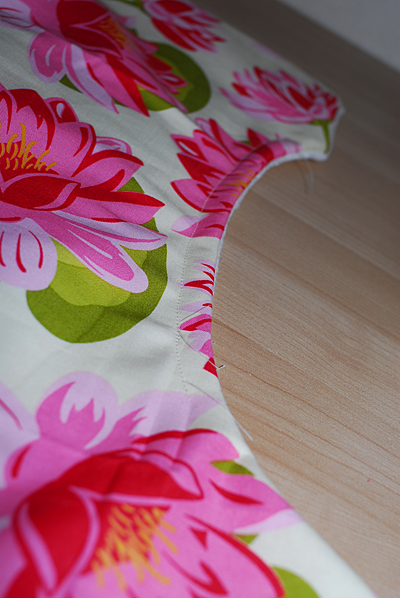
and you'll do the same to the other side.
DSC_0098

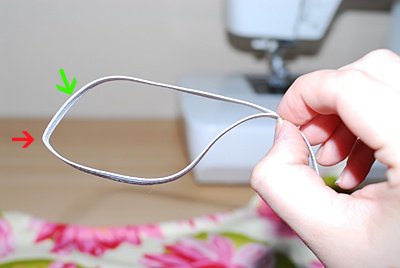
Your elastic should be just a hair narrower than your casing. This elastic is 1/4". I never go any smaller than that.
DSC_0099

To determine my length of elastic, I lay out the elastic the full length of the casing, then i fold that amount in half.
DSC_0100

From there, I use just over 1/2" of the amount of elastic needed to cover the casing.
The red arrow shows the halfway point. the green arrow shows where I would cut.
DSC_0102

flip your diaper inside out
DSC_0105

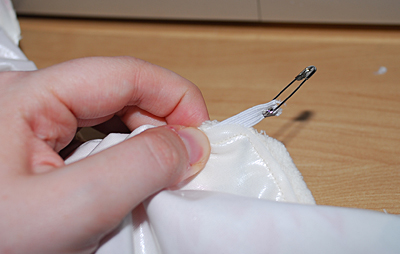
attach a safety pin to your elastic on one end
DSC_0104

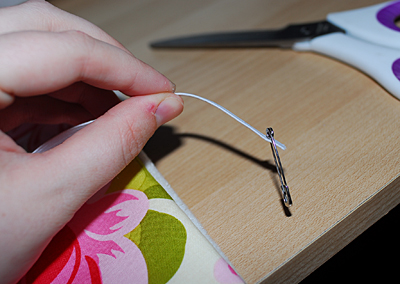
You can enter the casing from either side
DSC_0107

DSC_0106

it's difficult to maneuver the pin through the casing depending on how tight you made the casing and how many layers of material you are using. When I make fitted, it's fast and easy. With this PUL and Sherpa, it was a little more tough
DSC_0108

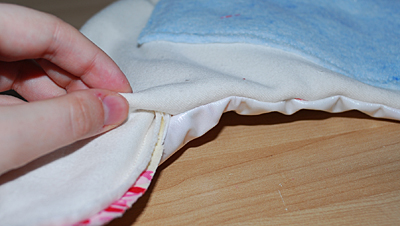
Once you get to right about here, that's where you want to stop to secure the end
DSC_0109

Sandwich your elastic between the outer and the inner
DSC_0111

and stitch it down. I typically run a straight stitch just to hold it in place, then use a few rows of tight zig zags
DSC_0112

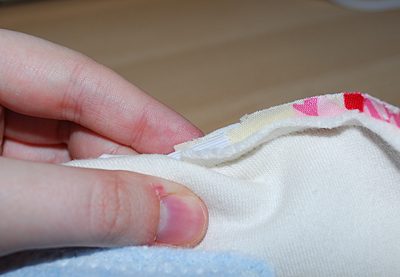
Keep your stitching safety outside of your seam allowance, and noone will see it.
it doesn't have to be pretty, just secure
DSC_0114

thread the elastic the rest of the way through
DSC_0115

and remember how we cut just a bit more than 1/2 the length of elastic? That was b/c we wanted a little wiggle room.
Pull the pin out a little ways til you are comfortable with the tightness of the elastic.
DSC_0116

stitch it down and you'll have this
DSC_0117
DSC_0118

do the same on the other side, stitch it all down.
DSC_0120

and you'll have this
DSC_0121

DSC_0122


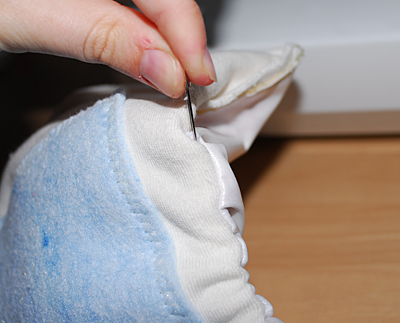
now let's finish the front
DSC_0123

start your needle out at the edge of the casing stitch, pulling the elastic as tight as you can on that end.
DSC_0125

and aim your machine towards the edge of the diaper. You'll follow the edge all the way around, top stitching from one piece of elastic to the other.
This will finish off your casing, and make it look like one continuous stitch
DSC_0127

when you're done, it'll look like this
DSC_0128
DSC_0129
DSC_0131

Now lets start on the back of the diaper.
Start at the elastic like we did just a minute ago, go around the tab and stop shortly after you make the curve.
DSC_0132

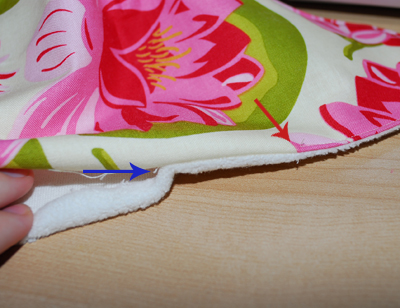
This shows you were I stop. The blue arrow is the opening for the elastic. the red arrow is where i stopped topstitching.
DSC_0133

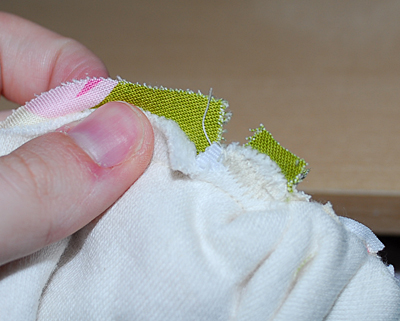
Cut a piece of elastic 1/2 the length of your elastic opening for the back.
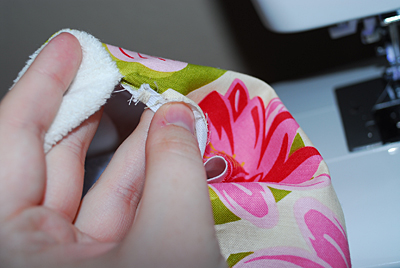
Take your outer materials (together and even) and stitch one end of the elastic to the TOP/RIGHT SIDE (at the VERY EDGE)
DSC_0134
DSC_0135

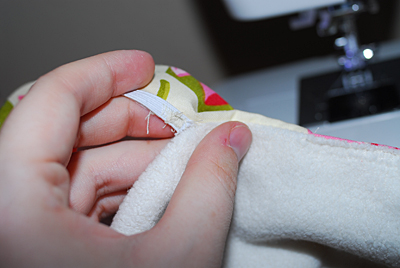
Once both ends are tacked down, fold the fabric all the way down the length of the elastic, stretching the elastic and sandwiching it between your folded-in outer and your folded-in inner.
DSC_0137

carefully top stitch the edge, being sure not to catch the elastic
DSC_0138

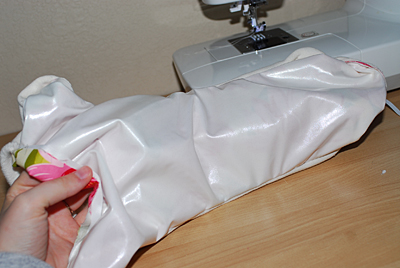
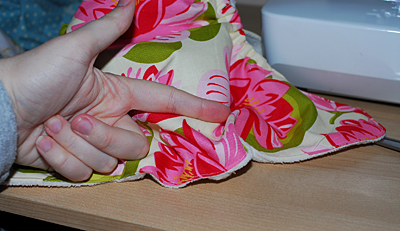
When you are done, your elastic will do what it does best, and retract, pulling itself back into the diaper.
My finger shows about where the elastic is sitting
DSC_0139

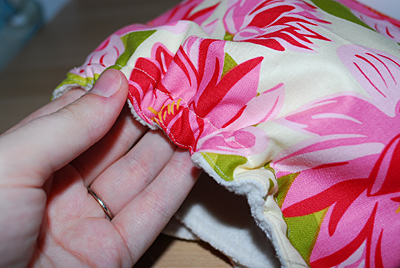
Pull the tabs away from each other, tightening up the elastic and forcing it back to the edge of the diaper.
Using pins, create a makeshift casing.
DSC_0141

Sew a true casing where the pins are
DSC_0142

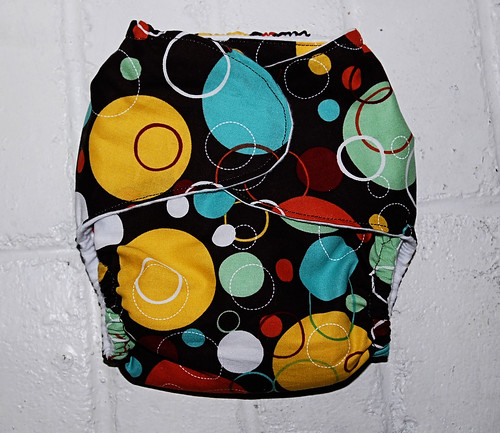
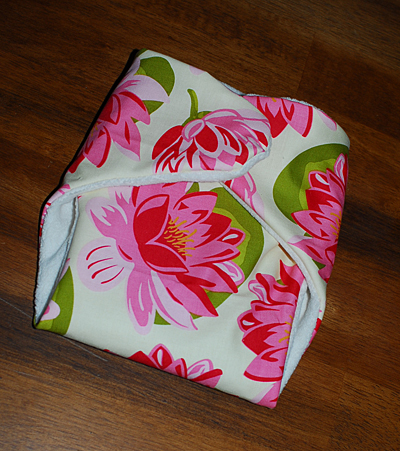
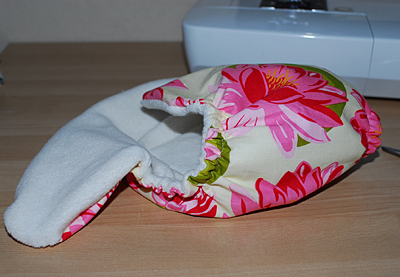
enjoy your adorable diaper :)
DSC_0143

DSC_0144

DSC_0145

DSC_0146

DSC_0150

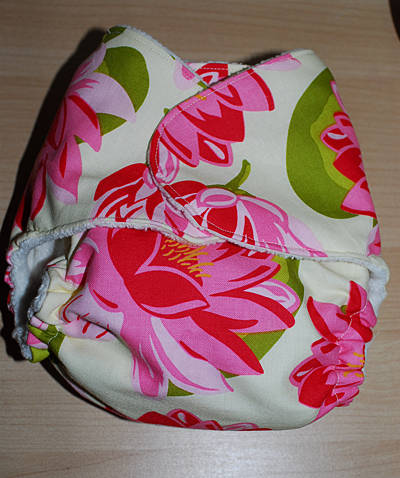
At this point you can add snaps or velcro. I'll go with velcro b/c I don't have a professional snap press at the moment, but i need to wait to hit the store and get some thicker velcro. Don't buy 19mm velcro ;)

Good luck with your diapers and be sure to post pics of yours in the comments!