Having a 3 year old son, my house is littered with drawings, and tracings of hands and feet, etc. Being a Mom, I have a very hard time throwing any of them away. She's so proud of every last one of them!
But I needed to find a better way to contain them.
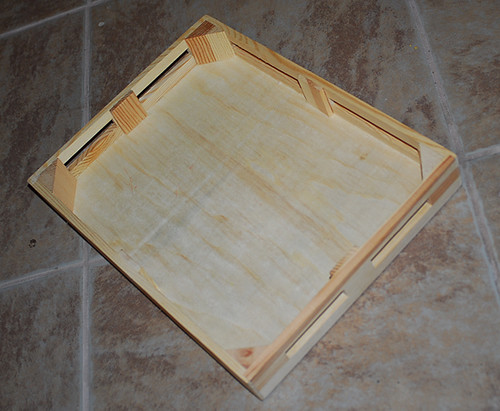
He has a small vintage playtable (the same one I had as a kid, my Dad found an identical one on eBay for him, lol) that he uses for coloring, etc. He also has a Melissa & Doug bend starter kit (shakers, harmonica, kazoo, etc) that came in a wooden box/tray. The box/tray took up residence on the playtable, holding all of his artwork. Problem being, the box is big and the table is small, which left for very little space to actually CREATE the artwork.
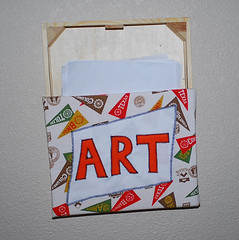
Brendan's room is all sports themed, so that will explain the fabric choices :)
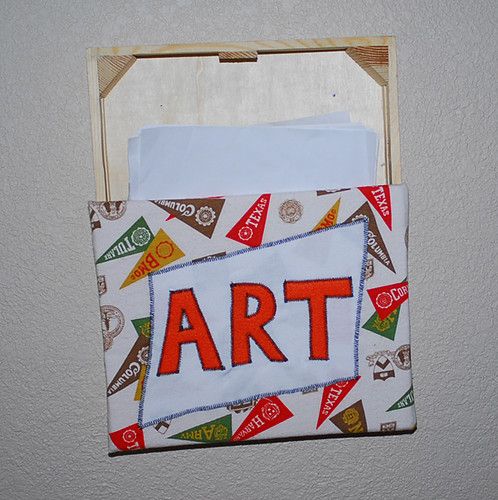
First I started with the wooden tray from the Melissa & Doug playset. It is such nice quality that I couldn't stand to throw it away when it could easily be repurposed.
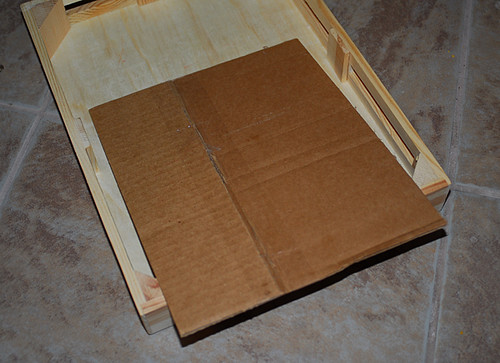
Then I took two pieces of carboard, and taped them together to make the size I wanted for the front of the box
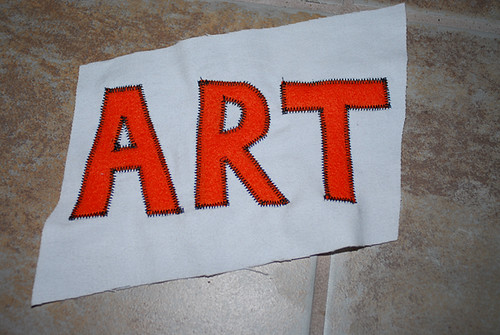
I cut the letters A R T out of orange felt, cut off a small white flannel shape to put the letters on, and cut off a chunk of the sports fabric big enough to cover the cardboard panel
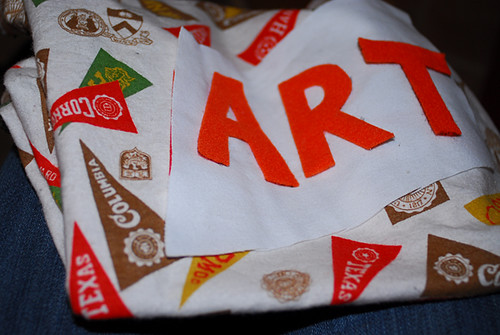
I zigzag stitched the letters onto the white flannel
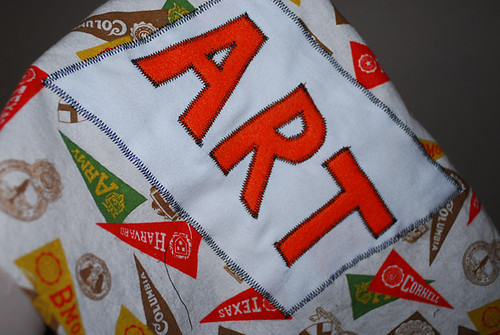
Then I zigzag stitched the white flannel piece onto the sports fabric
Then I (no photos) took another piece of white flannel, and covered the front of the cardboard piece. I superglued it to the carboard on the back, then put tape around the edges to secure it.
I then did the same with the sports fabric, being sure to center the ART design.
Once that was all done, I glued the panel to the front of the box, and used 2 finishing nails to hang it
1 comment:
What a fun project! We had one of those boxes, too, but it broke because Natalie insisted on jumping on and off of it.
Post a Comment