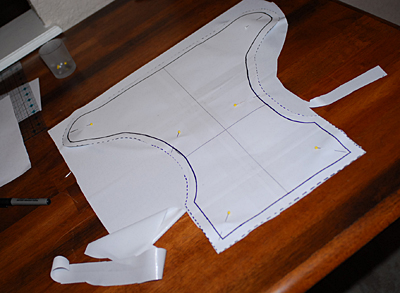
Lets take our pattern and cut out our fabric.
I'm making my very first AIO, so I'll be using a pretty Michael Miller knit for the outside, a layer of white (the cheapest) PUL, a 2 piece zorb soaker, and sherpa for the inside.
So here is our outside

this will be the hidden PUL layer
and the sherpa and soaker

we'll pin the soaker to the sherpa
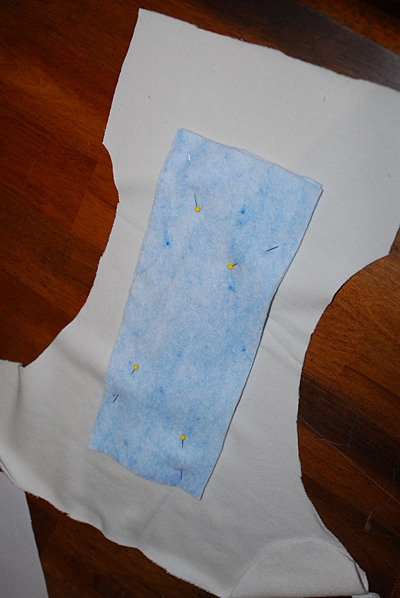
and stitch it down
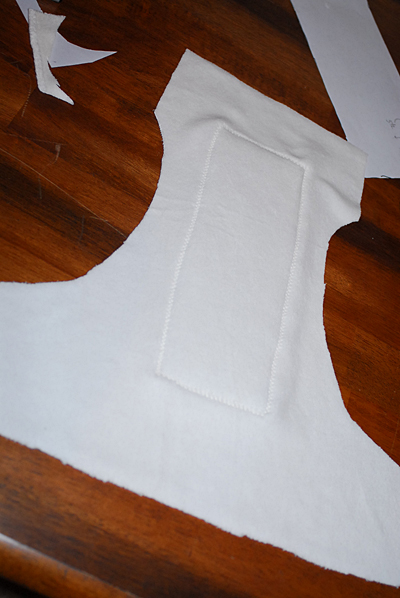
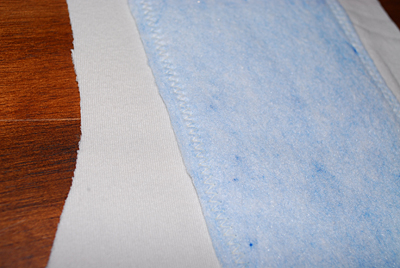
now we will take our sherpa layer (the the soaker attacked now) and lay it, soaker side down
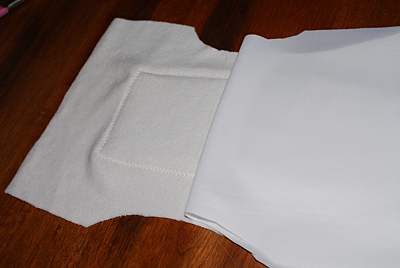
then we will add our pretty knit right-side-down
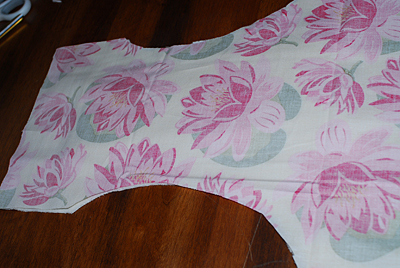
then add your PUL, shiny side UP
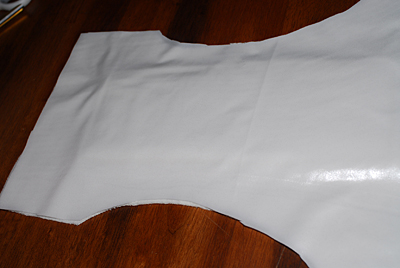
pin this together, but remember to use as few pins as possible b/c the more pins you put through the pul, the more holes you have to leak from

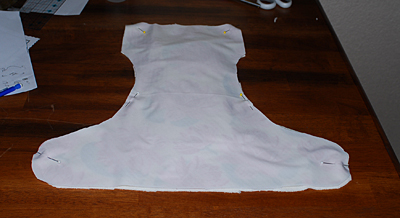
sew it all together (mental note, sherpa is slippery) leaving a gap at the back of the diaper. I normally make it about 6" long, however you want it to be open for the entire distance that you anticipate running elastic.
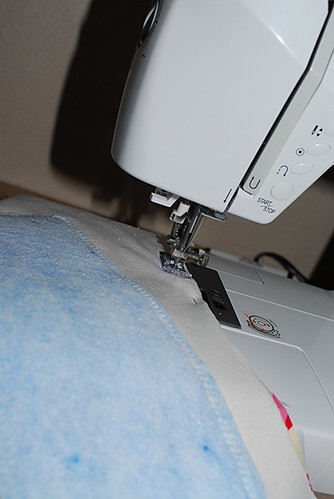
there's one side, all done
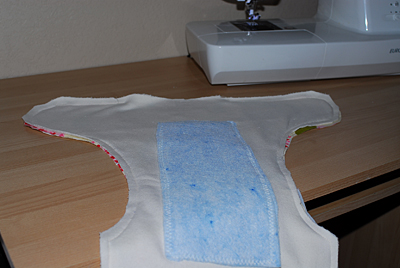
and the other
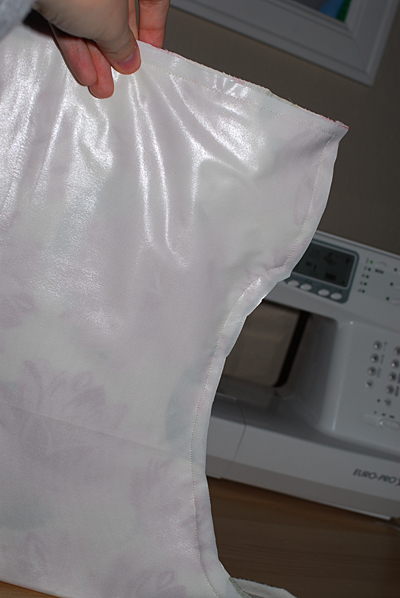
At this point, I normally snip a few lines in the curves of the leg holes, but don't go crazy doing it or it'll make adding elastic a real bitch.
flip it right side out
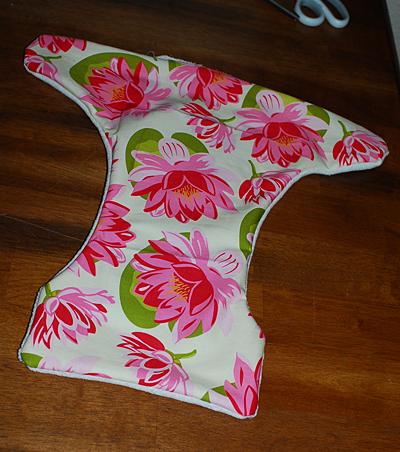
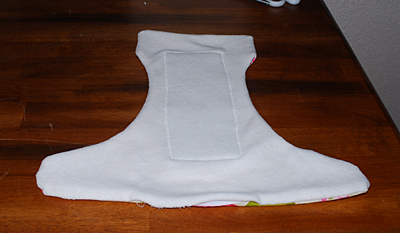
and this is what you have so far
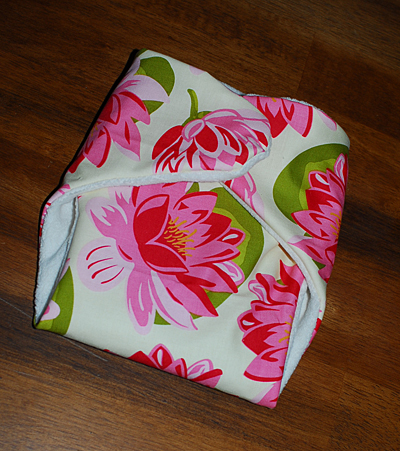
(ADDED LATER)
Now it's time to start adding our elastic
See that little pin? That's about as far away from the edge as you want to stitch. You'll just stitch a line following the shape of the diaper. This will create a casing.
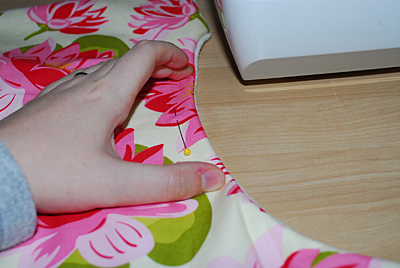
Once it's stitched, it'll look like this
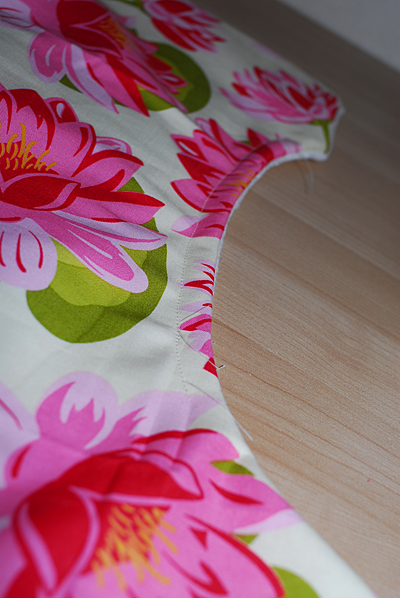
and you'll do the same to the other side.
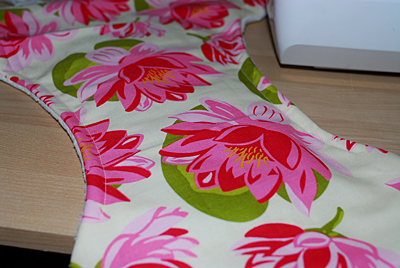
Your elastic should be just a hair narrower than your casing. This elastic is 1/4". I never go any smaller than that.
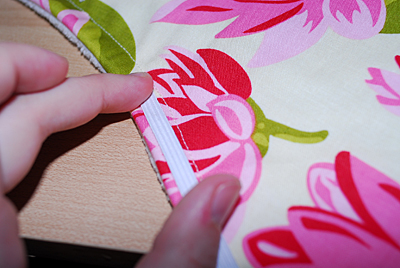
To determine my length of elastic, I lay out the elastic the full length of the casing, then i fold that amount in half.

From there, I use just over 1/2" of the amount of elastic needed to cover the casing.
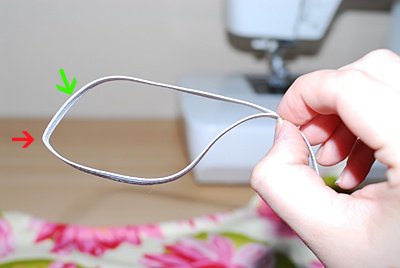
The red arrow shows the halfway point. the green arrow shows where I would cut.
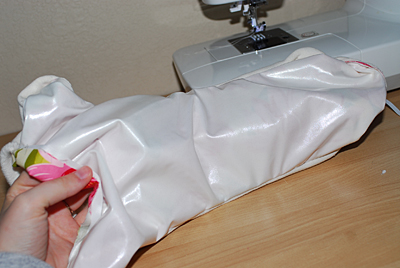
flip your diaper inside out
attach a safety pin to your elastic on one end
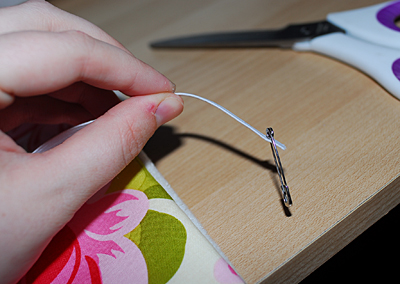
You can enter the casing from either side
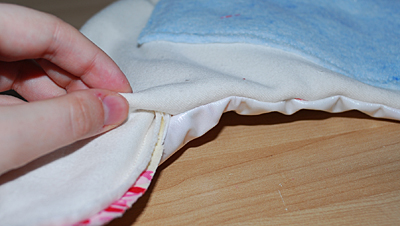

it's difficult to maneuver the pin through the casing depending on how tight you made the casing and how many layers of material you are using. When I make fitted, it's fast and easy. With this PUL and Sherpa, it was a little more tough

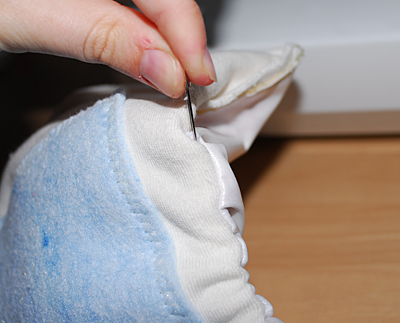
Once you get to right about here, that's where you want to stop to secure the end

Sandwich your elastic between the outer and the inner
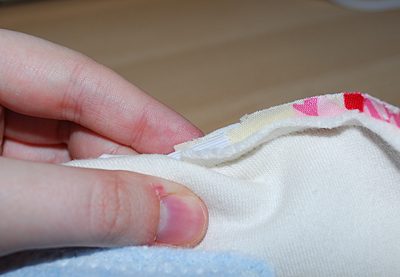
and stitch it down. I typically run a straight stitch just to hold it in place, then use a few rows of tight zig zags

Keep your stitching safety outside of your seam allowance, and noone will see it.
it doesn't have to be pretty, just secure
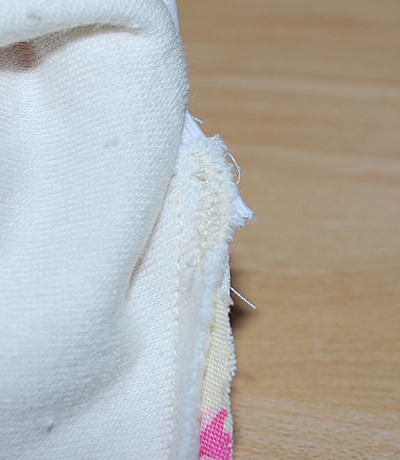
thread the elastic the rest of the way through
and remember how we cut just a bit more than 1/2 the length of elastic? That was b/c we wanted a little wiggle room.
Pull the pin out a little ways til you are comfortable with the tightness of the elastic.
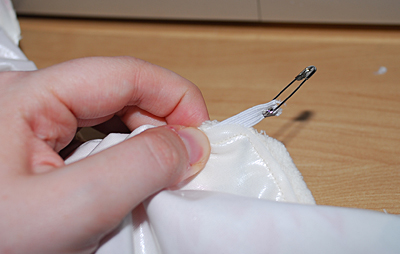
stitch it down and you'll have this


do the same on the other side, stitch it all down.
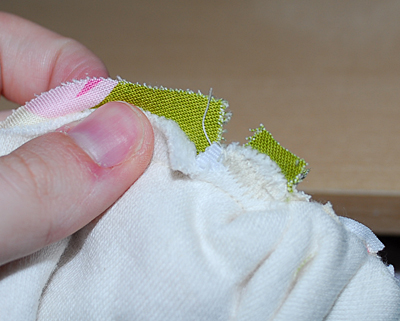
and you'll have this
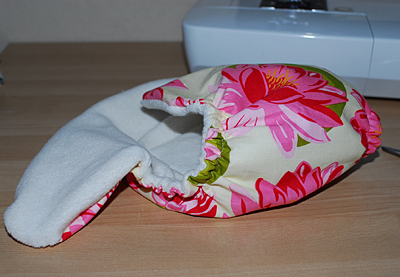

now let's finish the front

start your needle out at the edge of the casing stitch, pulling the elastic as tight as you can on that end.
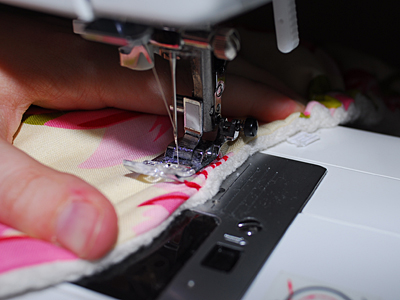
and aim your machine towards the edge of the diaper. You'll follow the edge all the way around, top stitching from one piece of elastic to the other.
This will finish off your casing, and make it look like one continuous stitch

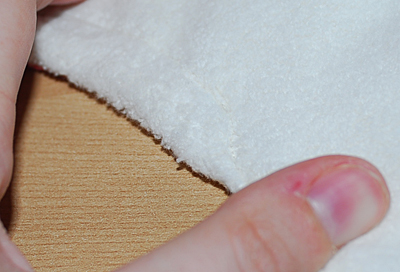
when you're done, it'll look like this
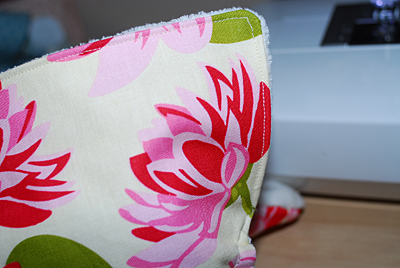
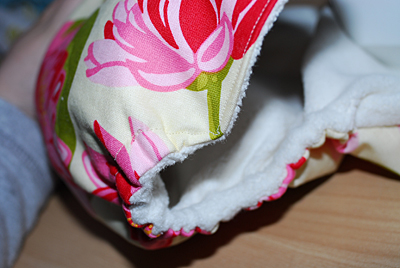
Now lets start on the back of the diaper.
Start at the elastic like we did just a minute ago, go around the tab and stop shortly after you make the curve.

This shows you were I stop. The blue arrow is the opening for the elastic. the red arrow is where i stopped topstitching.
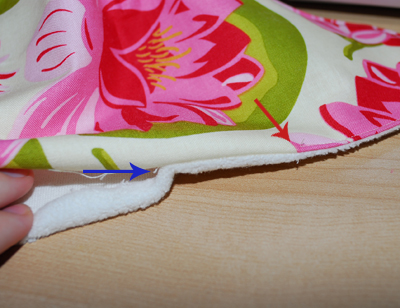
Cut a piece of elastic 1/2 the length of your elastic opening for the back.
Take your outer materials (together and even) and stitch one end of the elastic to the TOP/RIGHT SIDE (at the VERY EDGE)
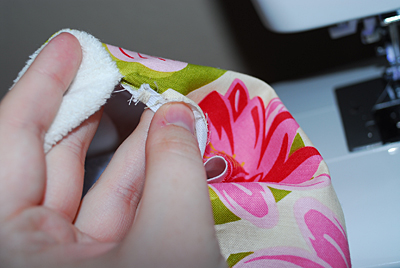
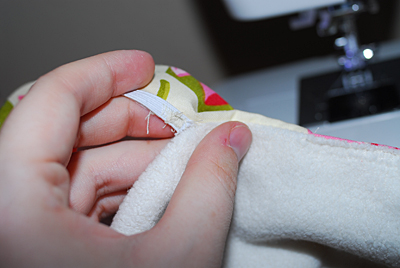
Once both ends are tacked down, fold the fabric all the way down the length of the elastic, stretching the elastic and sandwiching it between your folded-in outer and your folded-in inner.
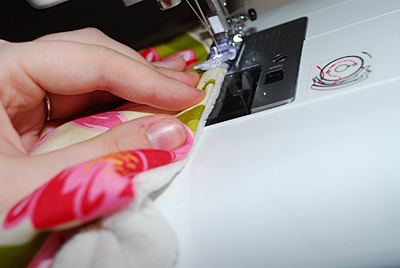
carefully top stitch the edge, being sure not to catch the elastic
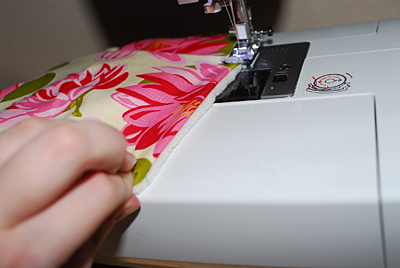
When you are done, your elastic will do what it does best, and retract, pulling itself back into the diaper.
My finger shows about where the elastic is sitting
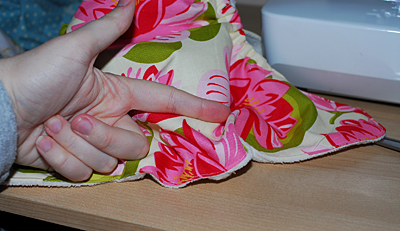
Pull the tabs away from each other, tightening up the elastic and forcing it back to the edge of the diaper.
Using pins, create a makeshift casing.

Sew a true casing where the pins are
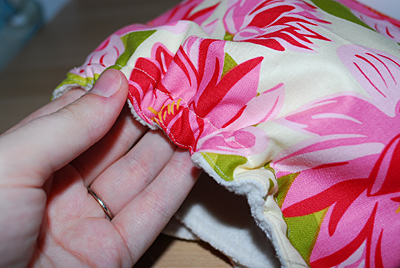
enjoy your adorable diaper :)

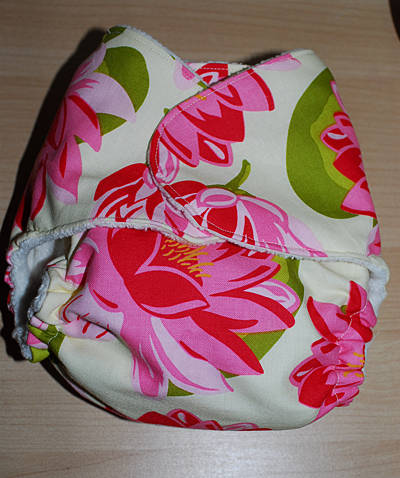


At this point you can add snaps or velcro. I'll go with velcro b/c I don't have a professional snap press at the moment, but i need to wait to hit the store and get some thicker velcro. Don't buy 19mm velcro ;)
Good luck with your diapers and be sure to post pics of yours in the comments!
7 comments:
That looks great! I'm going to be paying particular attention to how you do the elastic because I've seen so many different methods and, well, I haven't done mine yet!
Serial commenting...
It looks great! I think I like the way you do the elastic. Did you stitch through the entire length of the elastic? I wasn't completely clear on that part.
no, just on the 2 ends. The casing allows you to add elastic without stitching through it.
Great tutorial. I sewed diapers for a lady who has cloth diaper company and the way you make them is almost exactly the way she makes them. Great job. If only I had a little one to make some of these I would for sure use AIO's.
I literally want to bow down to you right now. I have been looking at pattern after pattern and about to explode from all the information over load... and frustration at STILL not understanding how to use any of the patterns I've found. This tutorial looks SO easy, I just know I can do it! I'll be using this for now on, and I will post results as soon as I get them!
hi! I made one aio using these instructions, but when i tried it with my daughter the urine passed through the diaper... I don't understand how. I used these fabrics in this order: a full layer of fleece (next to baby skin), terry cloth (3 layers) sandwiched between flannel (for the soaker), a full layer of flannel, a full layer of pul, and a cotton print.
I wonder if the problem is that I put the flannel on top of the pul.
I'd appreciate if somebody could give me an answer and/or advice...
Thank you!
Love it! I'm just making a few adjustments, but I will definitely use this idea on our own AIO's Thanks for the tutorial =)
Post a Comment